With all the benefits we’ve seen to going gluten-free since it started as a begrudging experiment back in October, I was determined to make GF work in our new environment.
But I wasn’t sure how.
I knew that restaurant food and dinners at others’ homes wouldn’t accommodate our choices, and no one seems to have ever heard of people choosing not to eat flour, but I was willing to try and make it work, at least at home.
Quick breads, muffins and cookies aren’t a problem. When we lived here before, we were already eating a gluten-reduced diet, and I’d discovered buckwheat flour, which is very accessible and easy to use, and if you don’t mind the slightly drier texture and earthy flavour, it’s a wonderful substitute for anything baked without yeast.
Bread was my big challenge. But in eating gluten-free over the last number of months, I’d had some experience with what a gluten-free bread dough was supposed to look like and how it was supposed to perform. I’d even figured out the culprit in my previous failures: too much moisture, which may have had more to do with climate than the recipes I tried, since we lived in the south of the country at the time, in a sub-tropical climate.
But i hadn’t officially figured things out. And I was still in search of a simple recipe–one that didn’t involve a lot of fancy ingredients I was unable to get my hands on, like flax seed, applesauce, amaranth. I didn’t want to have to use a whole lot of different flours.
This thing can’t be time-consuming if I’m going to do it every week without a bread machine!
I finally found THE recipe. Of course I tweaked it so it’s barely recognizable as the original, because it was intended for bread-machine use and I don’t have one. Also I wanted to use my kefir (a yogurt-like lactose-free dairy product we make ourselves) instead of skim milk powder.
Finally, I typically substitute honey for refined sugars in recipes, so I wanted to accommodate that change as well.
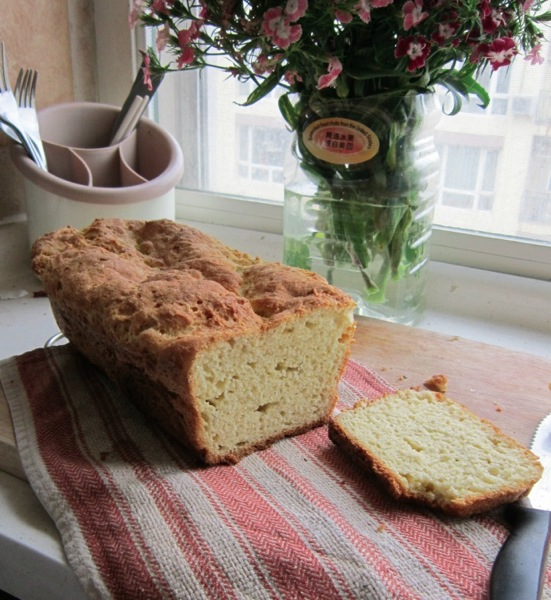
Here is the final product. It’s super-yummy. Everyone has declared it so (with the exception of JavaMan because he hasn’t been around. We can’t wait to see him tomorrow).
Finally, we have a winner!
Note: neither xanthan nor guar gum are available in China. I brought my own. Both gums replace the role of gluten in helping the loaf “stick” together. Xanthan gum is preferred for baking bread, but is to be avoided by anyone with severe allergies to corn and corn products.
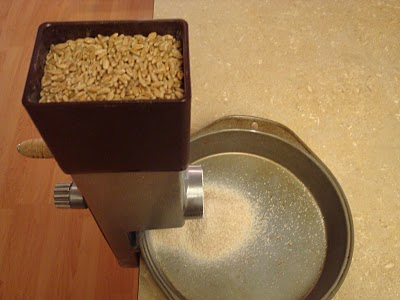
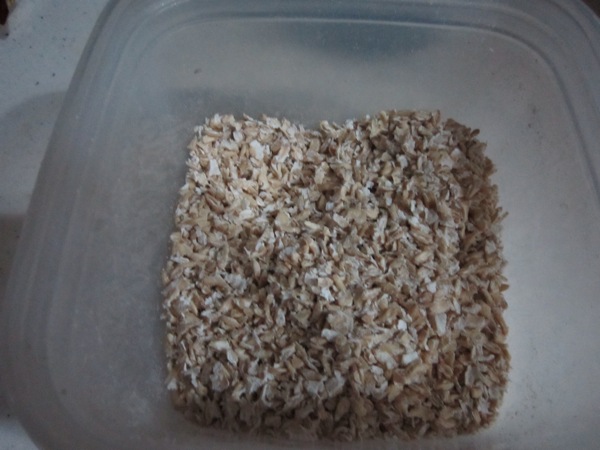
The ingredients for this recipe are simple and relatively easy for me to get my hands on. I can buy brown rice at our local market, and I bring it home and grind it with my hand grinder. I can buy little packages of potato starch at the market as well. Tapioca flour was a little harder to locate, but I managed to find it at Walmart.
Ingredients:
- 2 cups brown rice flour
- ½ cup potato starch
- ½ cup tapioca flour
- 2 ½ teaspoons xanthan gum (or guar gum)
- 1 ½ teaspoons salt
- 1 ½ tablespoons honey
- ⅔ cups warm water
- ⅔ cup buttermilk, plain yoghurt or kefir
- 1 ½ tablespoons dry yeast, granules
- ¼ cups butter, melted
- 1 teaspoon apple cider vinegar
- 3 eggs, room temperature
- 1-2 tablespoons cut up sunflower seed (optional)
Directions:
|
1. Combine 1 1/2 tablespoons yeast with the water and allow to proof.
|
|
2. Mix together all the flours, xanthan/guar gum, salt and sunflower seeds (if using).
|
|
3. Beat the eggs.
|
|
4. Combine water, butter, vinegar, eggs and buttermilk/yoghurt/kefir.
|
|
5. Mix wet and dry ingredients together and beat with a stand mixer or a hand mixer with bread hooks for three to five minutes. Texture should be like stiff cake batter. (I use a hand mixer with bread hooks and the mixture often “crawls” up the hooks.)
|
|
6. Pour into greased loaf pan and smooth top. Cover with saran and a towel and set in a warm place to rise approximately 30 minutes, or until dough rises to the top of the loaf pan (mine rose a little more).
|
|
7. Bake in 350 degree (F) oven for 50 minutes. Top should be nicely brown. Cool on cooling rack.
|
|
Note: This bread freezes well. For convenience, slice before freezing.
|

